This document outlines the essential steps to set up and optimize your brand using Yarnit. By following these instructions, you will ensure that your marketing and content generation efforts are perfectly aligned with your brand identity, target audience, and organizational goals.
Step 1
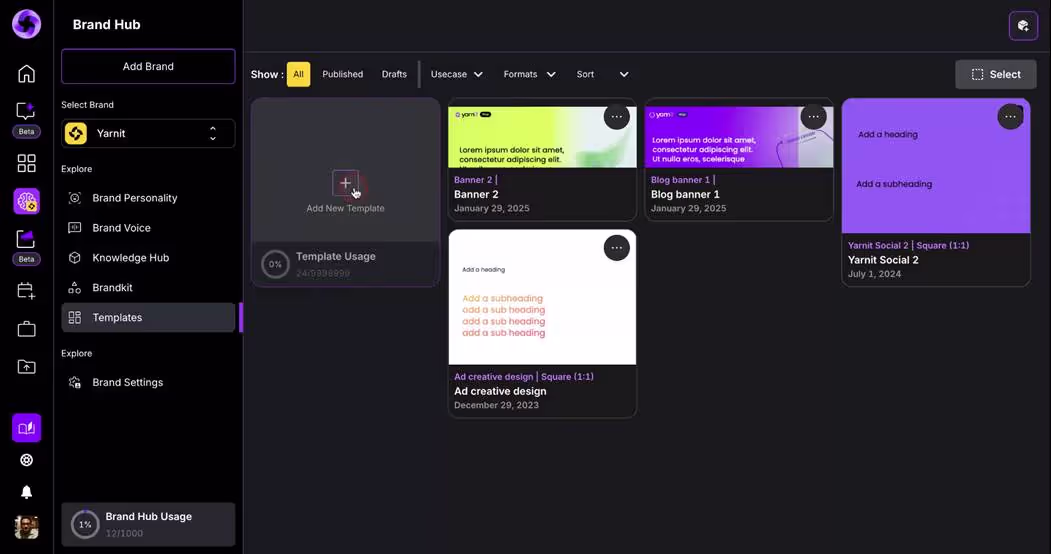
To begin, locate the "Brand Hub" button on the left-hand side pane of Yarnit's interface.
Step 2
If you are new to Yarnit, you will need to add a new brand.
Step 3
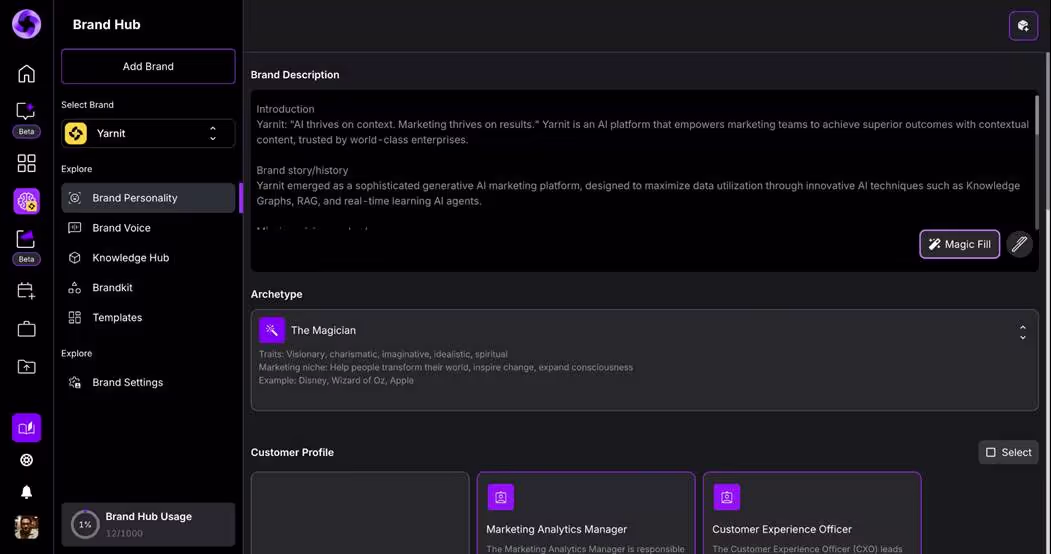
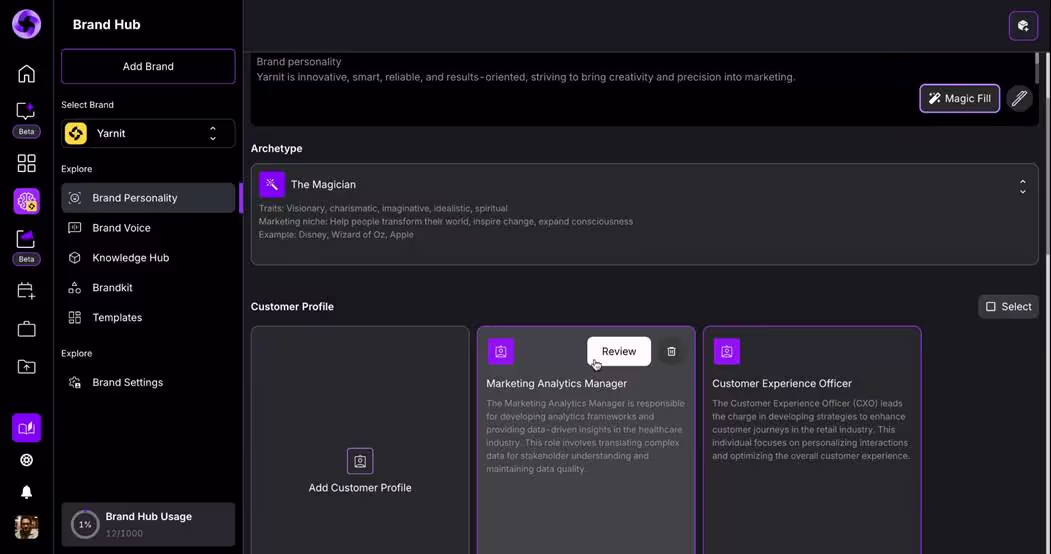
You will find a default brand that you can start editing. The first area to explore is the brand personality. Access the "Magic Fill" option, which allows you to direct it to your website or upload a document containing your brand information.
Step 4
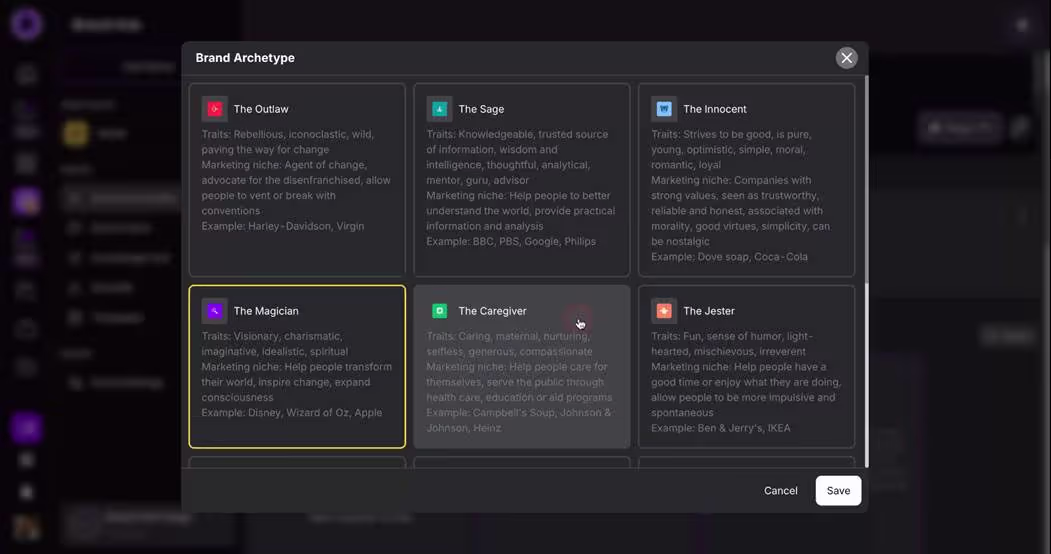
The system will analyze the information and update the details accordingly. If you have decided on your brand archetype, you can select it here.

Step 5
If you're unsure about your brand archetype, feel free to skip this step. You can proceed to the next area.
Step 6
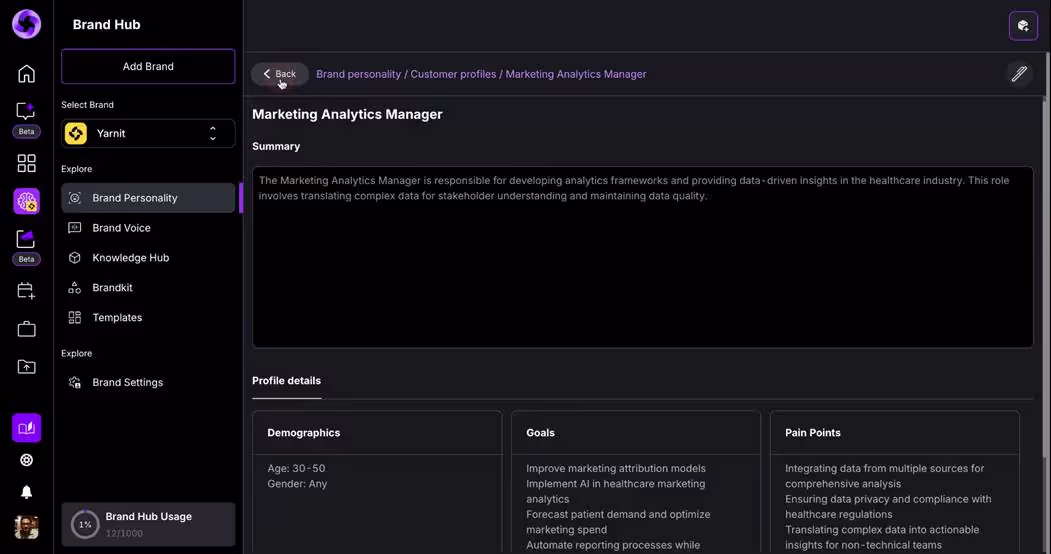
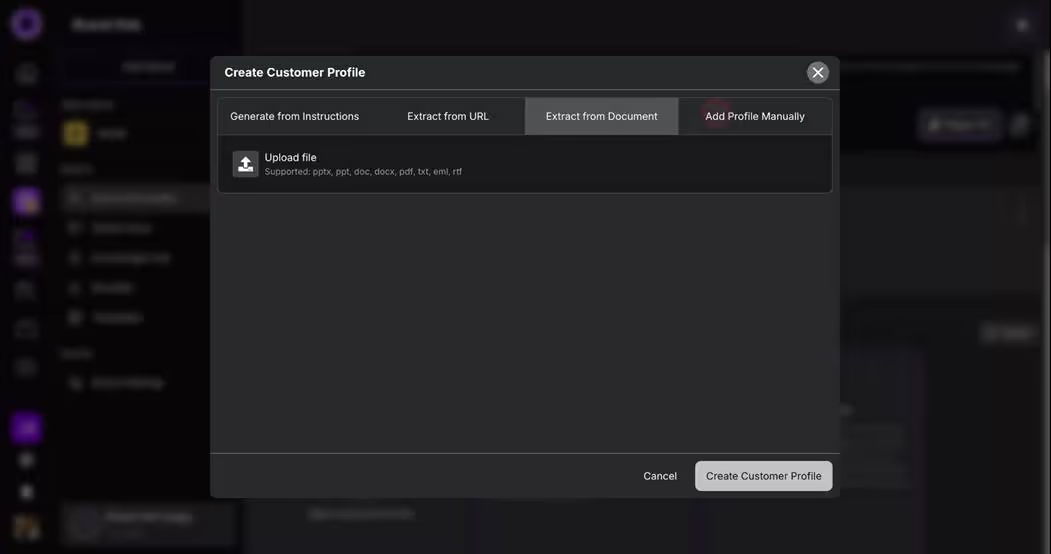
Add your customer profiles, which include summaries of demographics, goals, and pain points.
Step 7
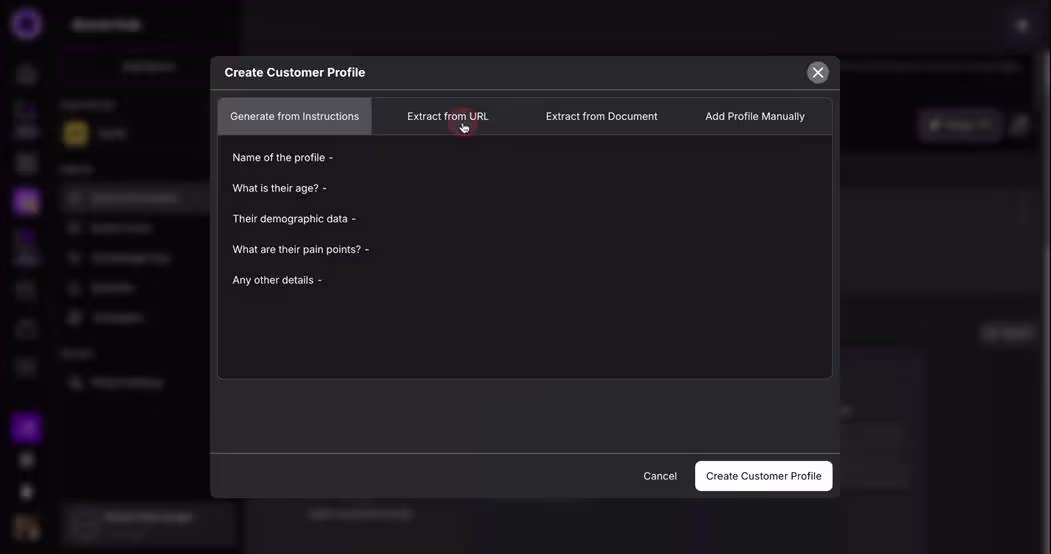
These profiles allow you to tailor content for specific personas in Yarnit. To add a customer profile, you have a few options.
Step 8
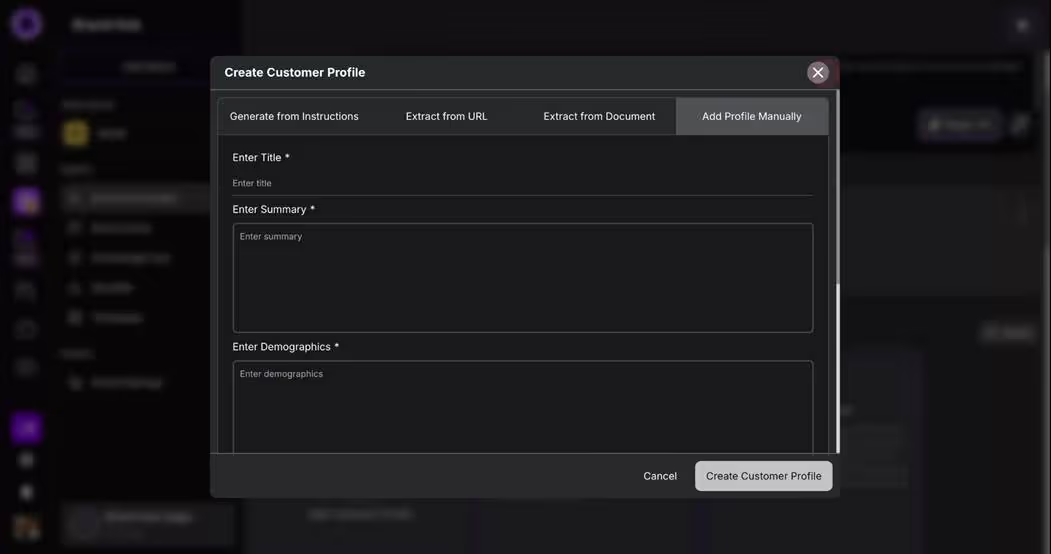
You can provide your instructions or direct Yarnit to a relevant webpage or document.

Step 9
Point the tool to your website or a webpage for Yarnit to extract and understand customer profile information.
Step 10
Alternatively, use various types of compatible documents, such as PPT, PDFs, or RTF files, to inform the process.

Step 11
If the AI-generated information is not satisfactory, you can manually adjust the details.
Step 12
The next critical step is to configure your brand voice, which dictates the tone, language, and phrases you wish to employ.
Step 13
The brand voice sets the standard for how you communicate with your audience, incorporating phrases you're accustomed to using.
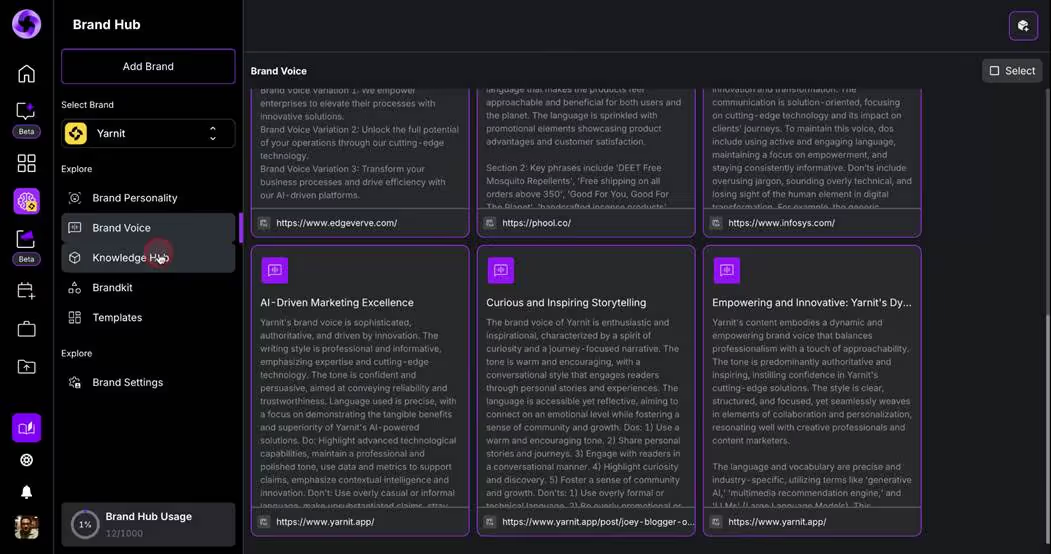
Step 14
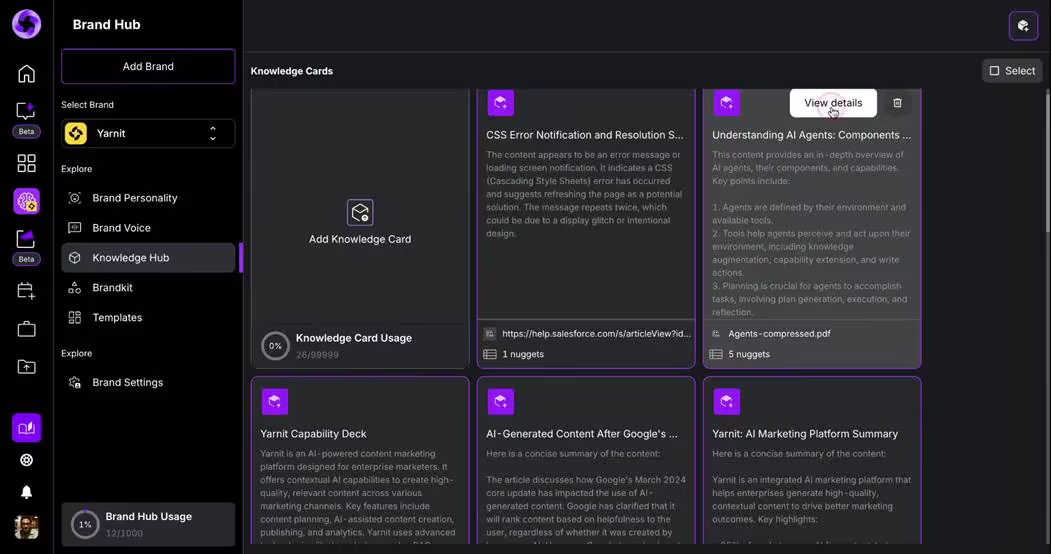
Next, establish your knowledge hub, which serves as a repository for vital brand documents like product manuals, case studies, and white papers.
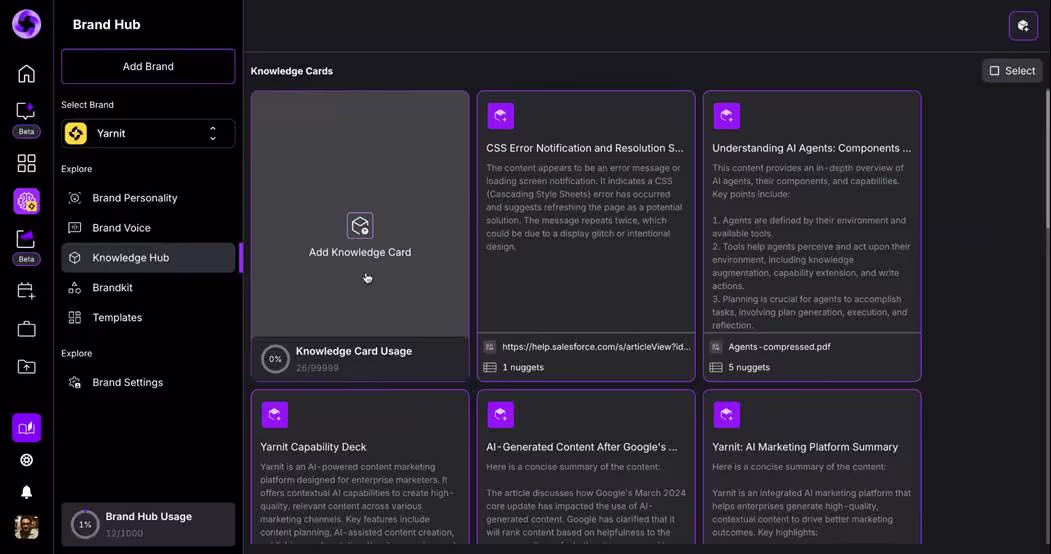
Step 15
As you create content, it will be organized in a knowledge graph format, ensuring all document sections are maintained verbatim.
Step 16
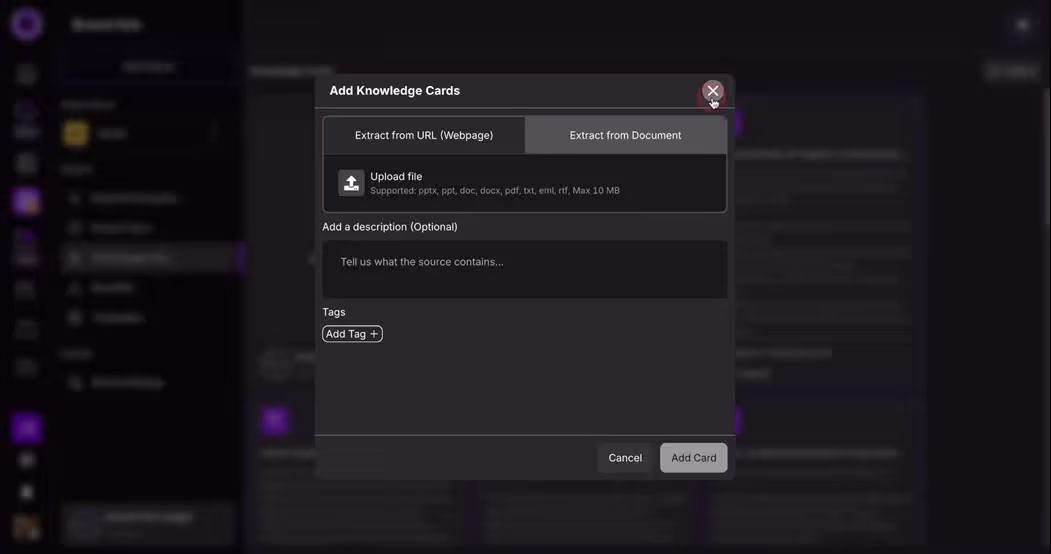
To add information to the knowledge hub, direct it to a URL or upload a document.
Step 17
You can incorporate various documents, from images to PowerPoints, and add them to a card within the hub.
Step 18
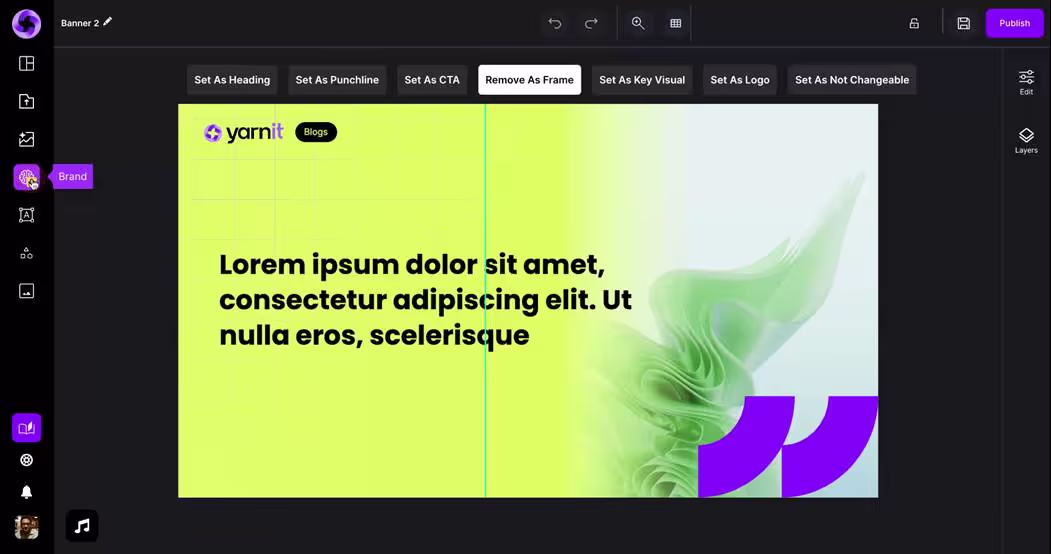
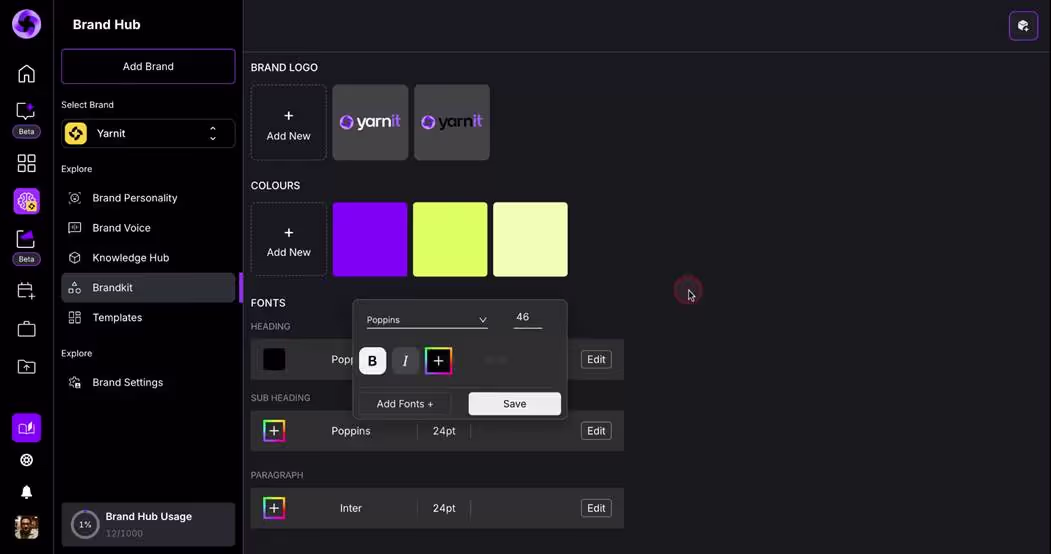
The brand kit is essential for creative production, allowing you to upload logos, colors, and fonts.

Step 19
For enterprise accounts, custom fonts can be added. Finally, consider setting up templates.
Step 20
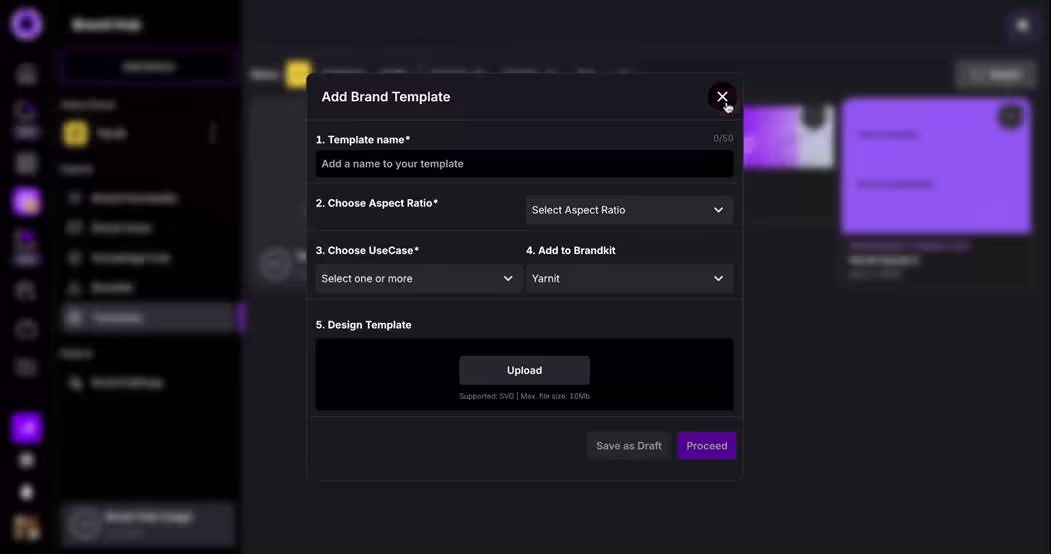
Templates facilitate the creation of consistent content, whether for blogs, social media posts, or banners. You can add multiple templates to enhance creative production.
Step 21
You can name each template, choose the aspect ratio, and specify the use cases.

Step 22
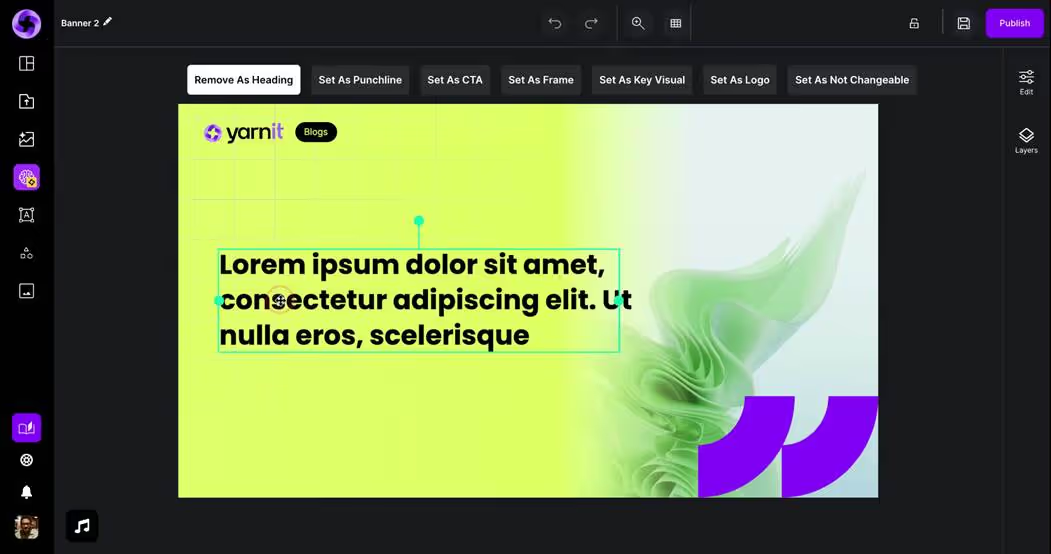
Templates can be added to one or multiple brand kits. Design them within Yarnit or upload them as SVGs from other platforms like Adobe or Canva.
Step 23
Once uploaded, you'll see organized templates that dictate where to place logos, headings, subheadings, and images.
Step 24
Ensure all elements are templatized according to your brand design so that every piece of content is consistent.

Step 25
We highly recommend setting up your brand on Yarnit to align with your design guidelines, ensuring consistency in all your creative endeavors.